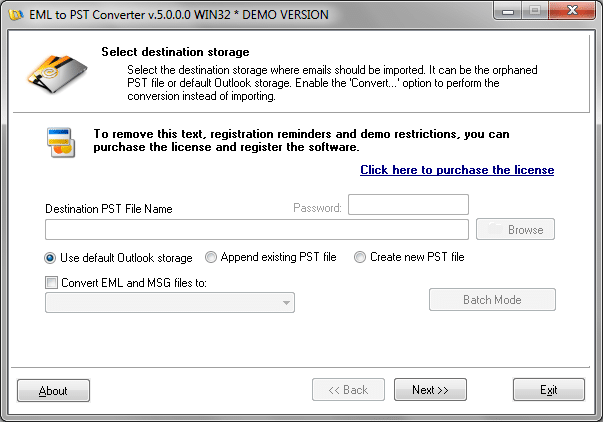
The importing process is easy as one-two-three. Run the EML to PST Converter. If you wish to import the amount of eml, emlx or msg files you don’t need to change something on the first Wizard page. Just press Next button. Appropriate importing option ‘Use default Outlook storage‘ is selected by default.
Specifying the source folder
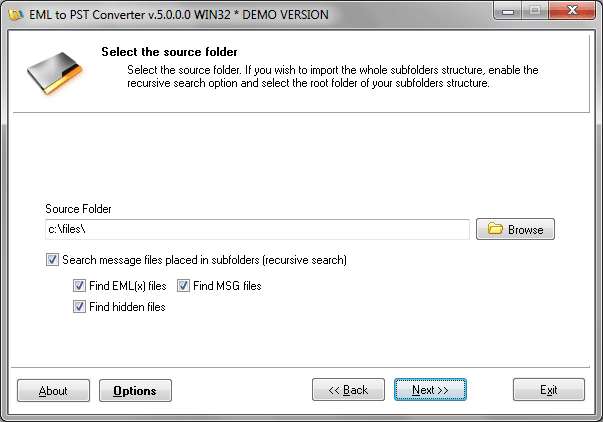
At the second page you should specify the source folder which contains email files and sub-folders for importing. Press the Browse button to select the source folder or enter the full patch manually. At the second step the EML to PST Converter will scan the structure of sub-folders and find all EML, EMLX, MSG files automatically. You can restrict program to find only EML and EMLX file or only MSG files. If you don’t want to find emails and import sub-folders, you can disable the recursive search function. If the recursive function is disabled, the program will scan the source directory only.
Configuring EML to Outlook conversion options
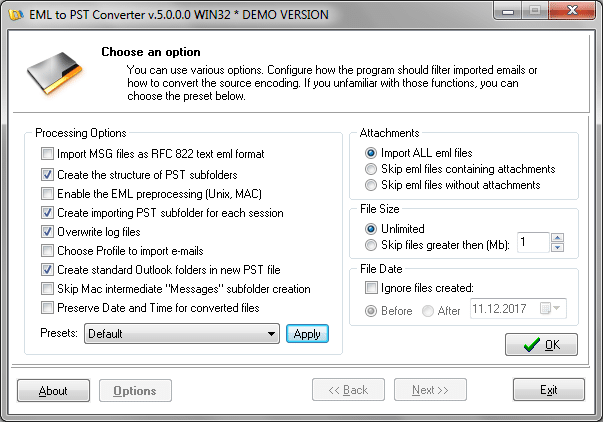
The set of importing options and filters can be additionally configured. Press the Options button to display the options panel. If you wish to import EML or EMLX files, you can filter them by File Size and Attachments. Advanced importing options can be selected at the right side of the options panel. The format of MSG files can differ for different email clients, so the first option allow you to change the importing algorithm for MSG files. If you have a set of binary MSG files (native Outlook msg format) the option ‘Import MSG files as RFC 822 text eml format‘ should be cleared (unchecked). The second option ‘Create the structure of PST subfolders‘ allows you to create the copy of the hard drive directories structure in the Outlook. If the option is inactive, the EML to PST Converter will import emails into single Outlook folder. In case if you trying to import emails saved from the Unix or MAC OS email application, you can enable the special option which will change each email to the Windows comparable format. If the ‘Create importing PST subfolder for each session‘ option is enabled the EML to PST Converter creates the special folder with the time stamp in which it imports email messages. If the option is disabled, the program will import emails directly to the Inbox or another Outlook folder which will be selected by user. The last option allows program to overwrite the log file instead of create new for each importing session.
Find all message files to import
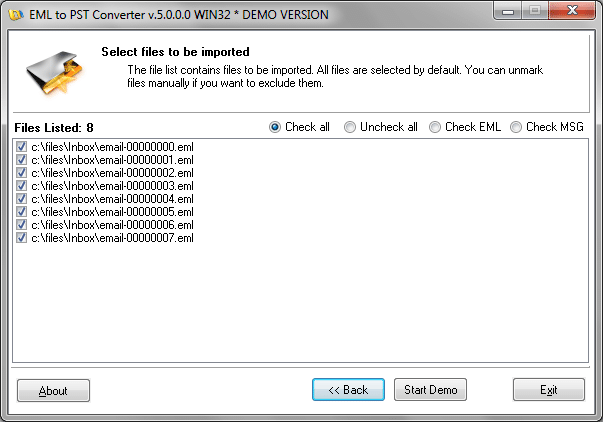
Press Ok or just Next button to continue. The EML to PST Converter will scan the structure of sub-folders and find all emails which can be imported. It will mark all email files by default. When the program finish the scanning, you will be able to uncheck some emails which you don’t want to import or leave them all selected. Press Start button to process importing.
Use password for protected Outlook profile
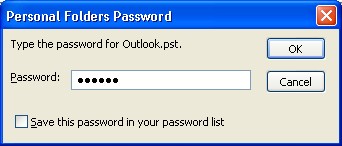
If the default Outlook User Profile is protected with the password, the program will prompt you to enter it. If the password will be entered incorrectly you will be unable to import emails directly to the default profile. In that case you can import emails to the new pst file. Enter the correct password to the Outlook user profile and press OK button.
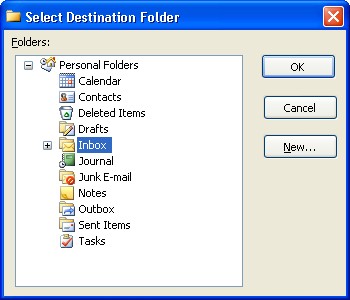
The program will allow you to choose the target Outlook user profile folder. If you don’t know exactly which folder to use, then select the Inbox or create the new folder by pressing New… button. After importing you will be able to open the Outlook and move imported emails to the folder you need using drag-n-drop. If you press the Cancel button, the program will use the Inbox folder to import email files. Press the OK button to start importing.
Finishing the EML to PST conversion
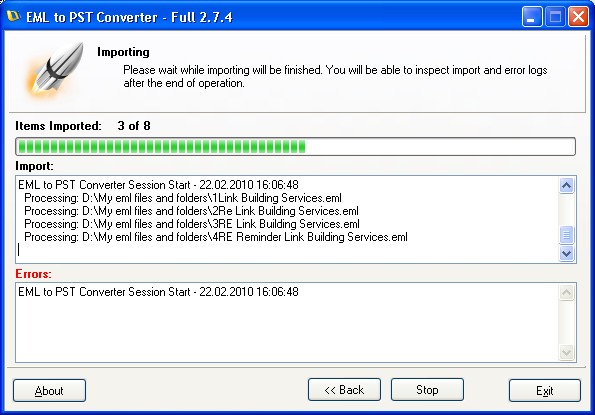
The EML to PST Converter will show you the process and error logs and the importing progress. When it done, you can inspect logs and repeat processing if any error will happen. Wait for the end of operation.
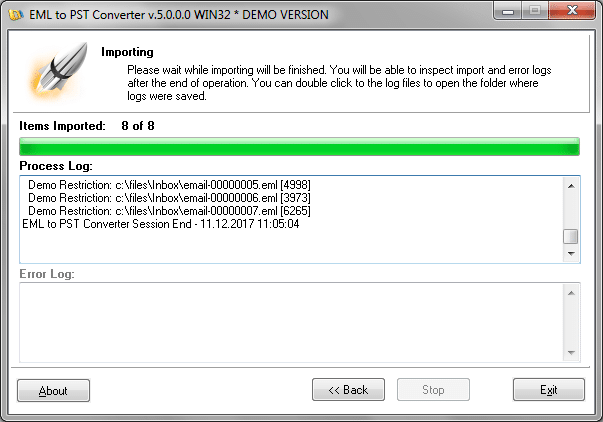
The EML to PST Converter will show you the message when the importing process will be finished.
Now you can open the Microsoft Outlook and inspect the result. You can reorganize imported emails, move them to another folder etc. Note that if you have imported the set of emails which were saved from the Sent Items folder they will look incorrectly in the Inbox or another Outlook folder except of Sent Items because they have meta data corresponding to Sent Items only. So it is recommended to move those emails to the Sent Items folder.
